

- Some material, I'm using some old pj shorts
- Pins
- Thread, one matching your material and one much darker or brighter
- Scissors, ones that are suitable for cutting material and threads
- Needle
- Safety Pin
- Length of cord or non-slippery ribbon
First you need to cut your material to size, I like to double over the material so both sides are going to match. I eyeballed it a bit for this smaller one, but if you're making this with a view to keep something specific in it then it's best to measure it. Say it's sunglasses, lay them out and then cut around leaving a couple of centimetres extra for sewing space. If you're using material from say shorts, a t-shirt or pj rousers, then I recommend cutting out your piece at the bottom including the hem.
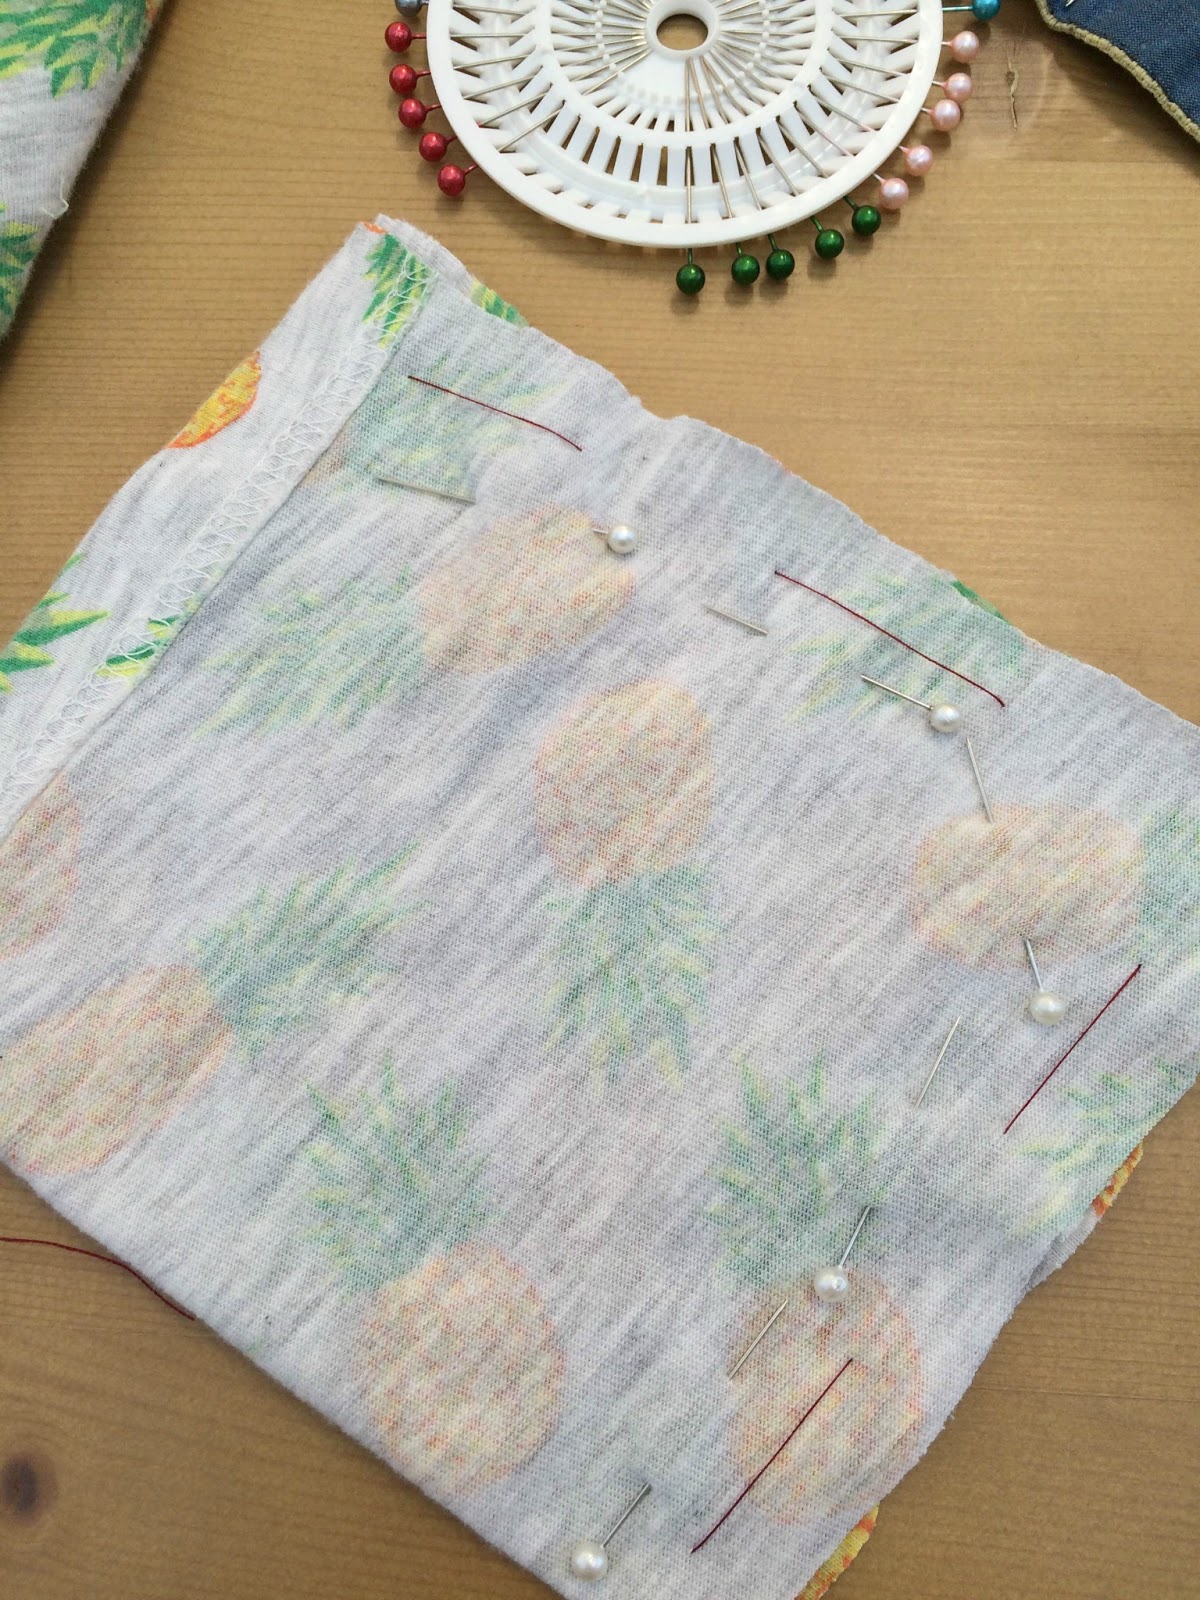
Next open out your material and then fold it in half with the outside facing the inside, am I even making sense?! Pin the two sides together and then taking the darker thread, I like to tack the item in place. To do this simple thread the needle and make giant stitches going round the edge. These don't have to be neat and you don't need to tie off the thread either.
If you're using fresh material than you'll need to hem the top, leaving a big enough gap to feed cord or ribbon through. This can be a little more tricky when hand sewing or if like me you have limited sewing skills, which is why I recommend recycling material already hemmed!
What you'll need to do either way is to sew the raw edges in place to avoid fraying. This can be done really simply by snipping a couple of stitches from the hem, folding over the edges and sewing them together with several stitches very close together, using the thread that matches your material. Make sure to do this on both sides.

Now it's the really easy part, simply sew all the way round the edge in as straight a line as possible again using the matching thread. Once your material is all sewn together, you can remove the pins and tacking by gently pulling at the large tacking stitches, before turning your pouch the right way round.

To make it drawstring, you'll need to attach the safety pin to one end of your cord or non-slip ribbon. For this one I've used a ribbon, but I've previously used cord. Both are easy so it all depends on what you have and what you want to use.
Feed the safety pin end of the ribbon or cord into the opening at the top of the pouch.
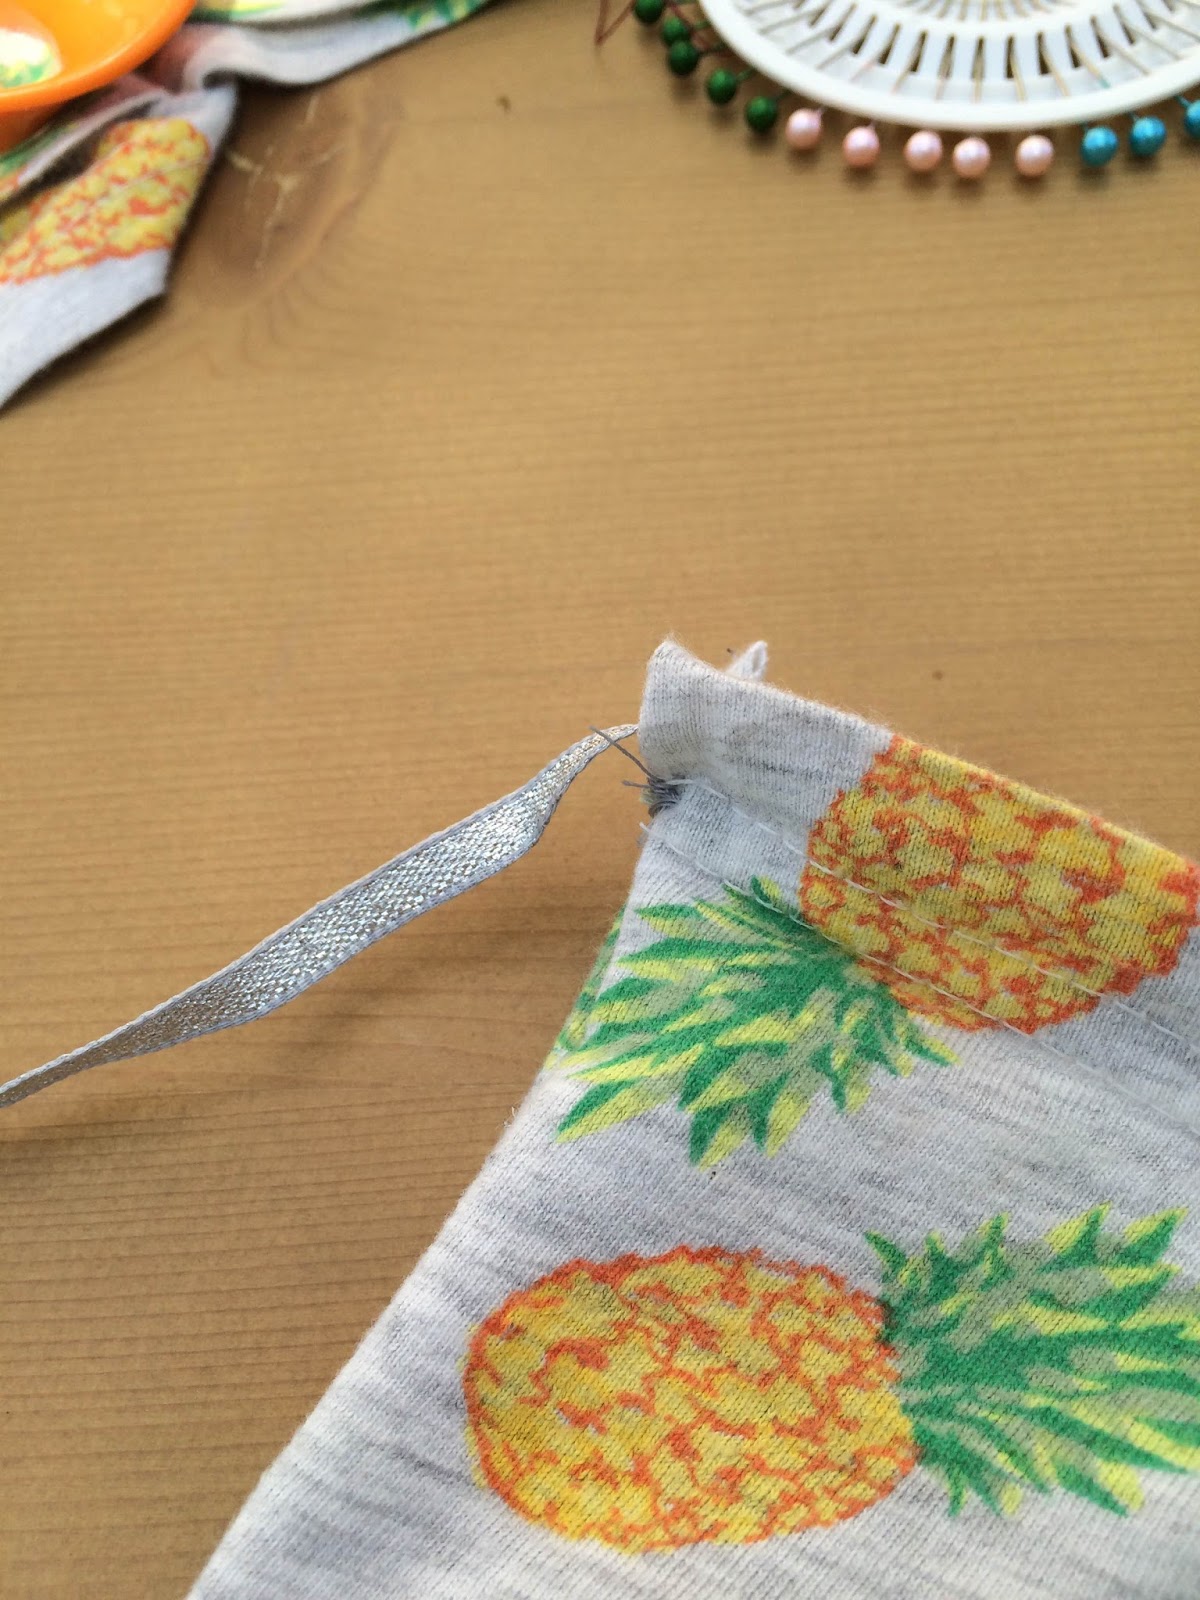
To feed the cord or ribbon all the way round, simply push the end of the safety pin along until material gathers, and then flatten out the material, continuing the push the pin along. The end will appear when it's all been fed through.

Once all the cord or ribbon has been fed through, simply tie off your drawstring and trim off extra and hey presto, you have a homemade drawstring pouch!
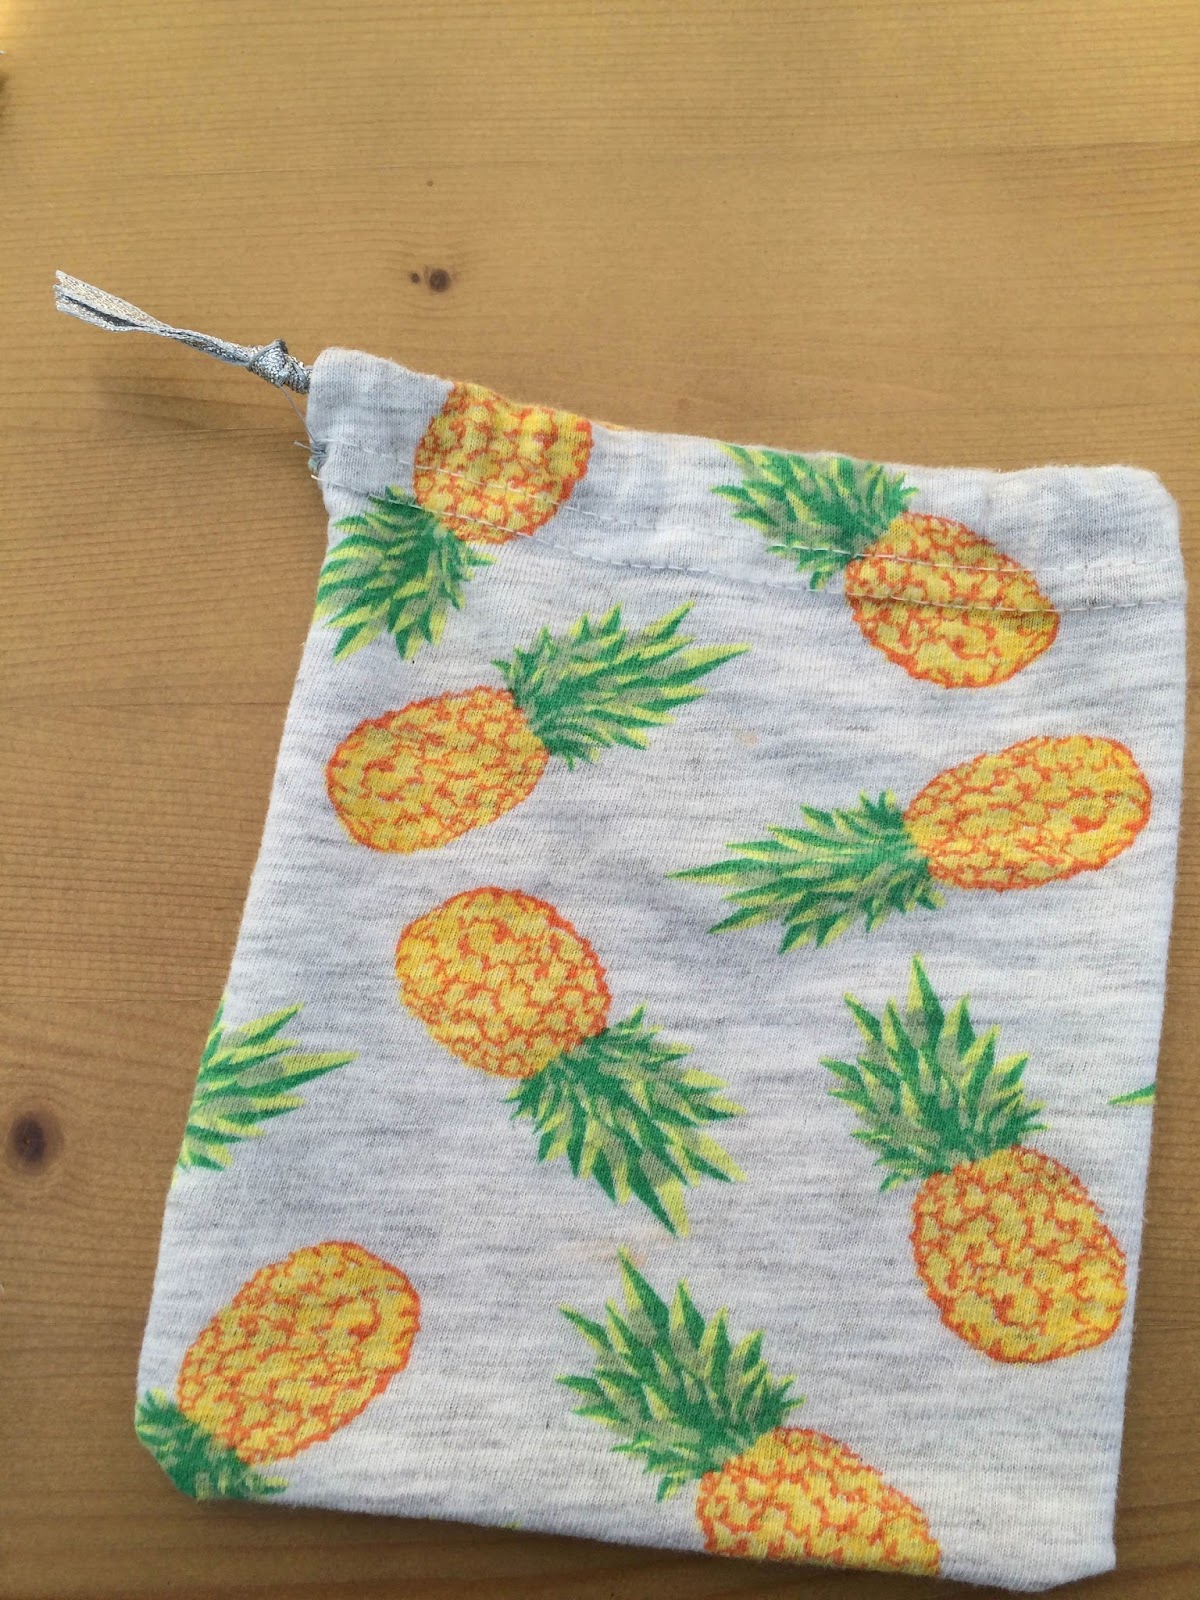

Hope you like this DIY, let me know if you give it a go for yourself!


No comments