
You'll Need:
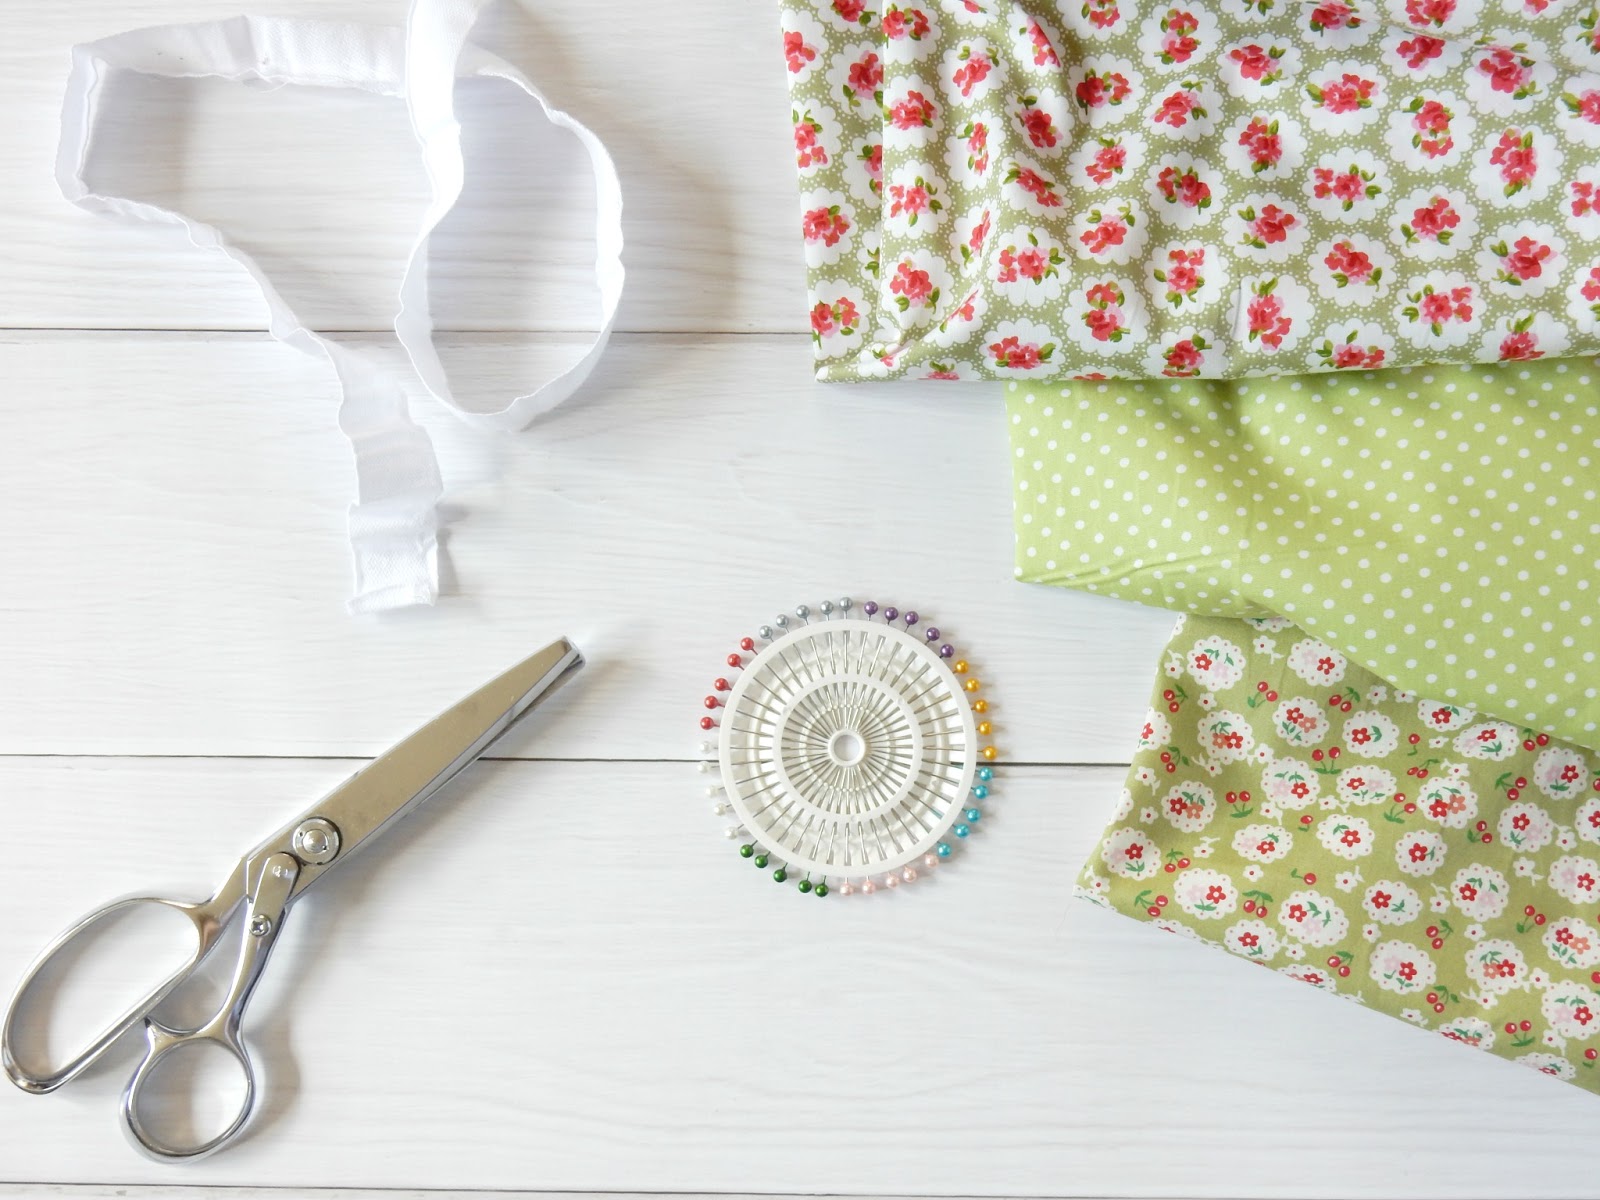
- Co-ordinating fabrics, as many different patterns as you like, I went for 3
- Cotton tape or bias binding, the tape is easier to sew with but it's your choice
- Pins
- Sewing machine, needle and cotton - one cotton matching the colour of your tape, and one darker/brighter
- Pinking shears
- Scissors
- Ruler
- Bunting flag template
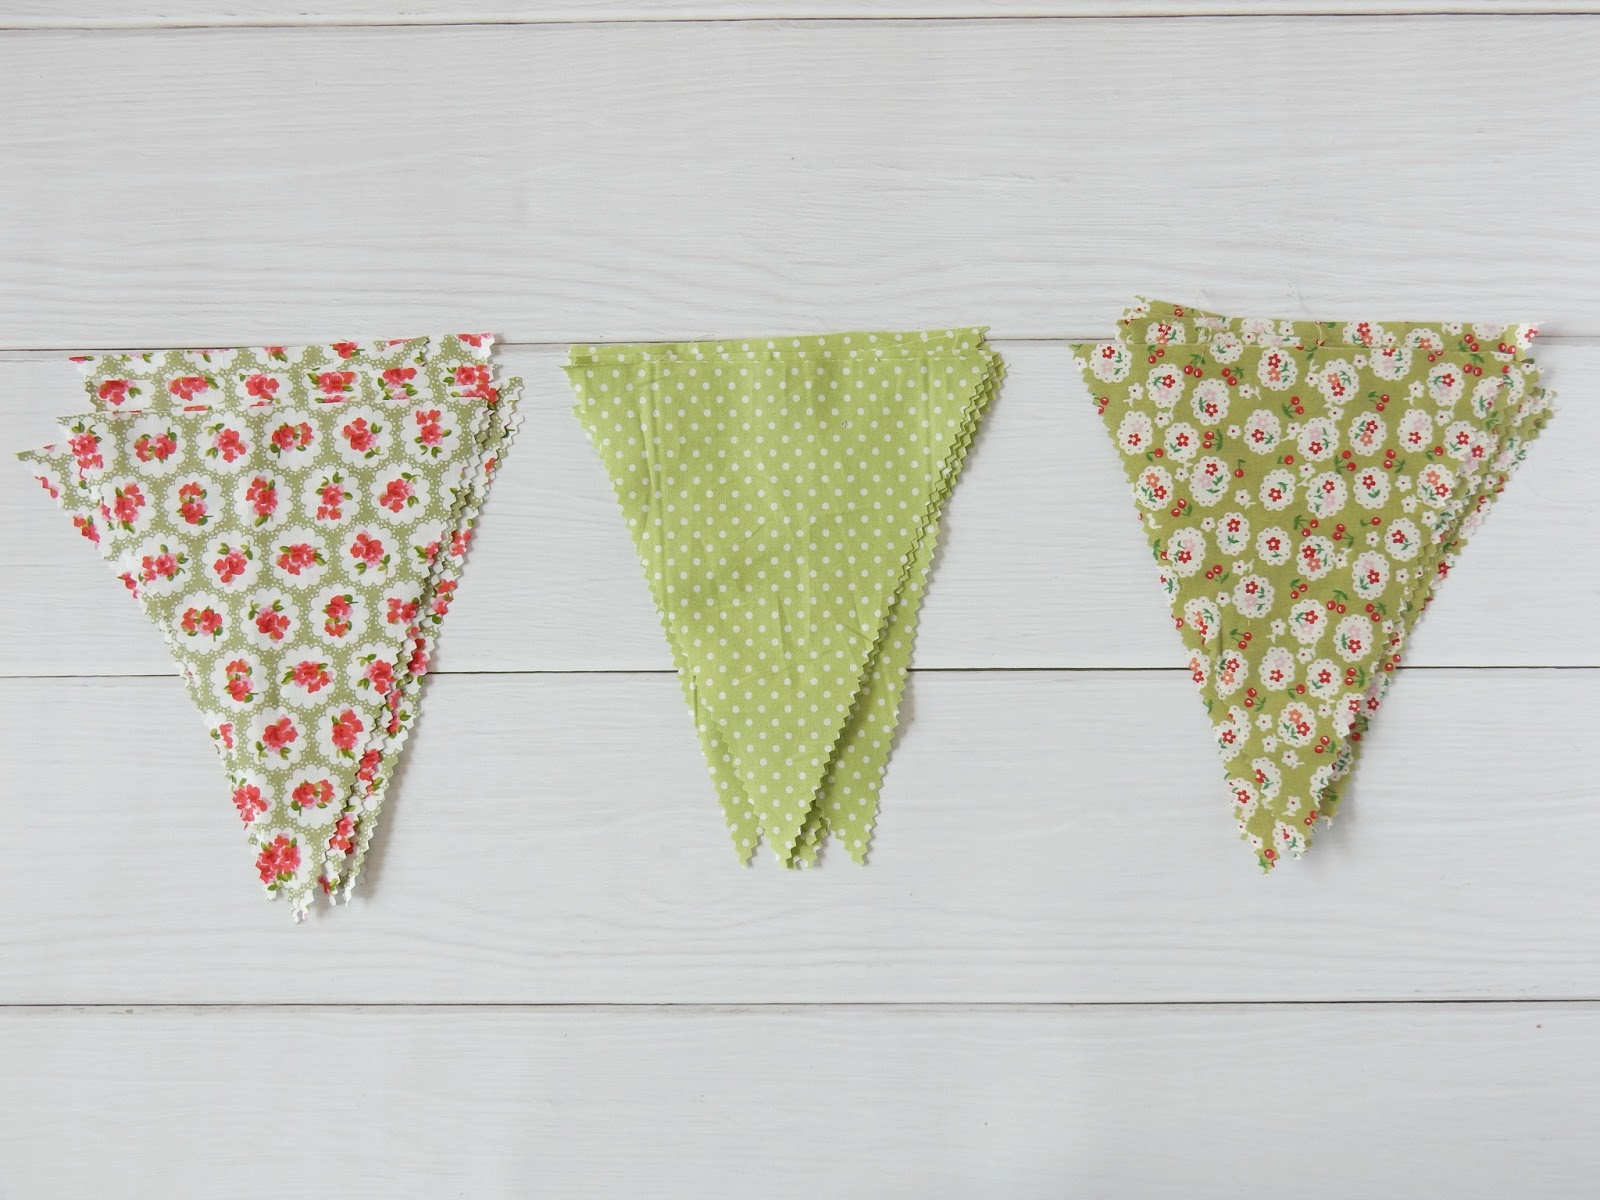
For the flat template I just cut a triangle 6 inches by 8 inches out of some card, this seemed like the best size as it's not too small but it's not hugely big either, but you can experiment a bit and decide on a size you like.
The first thing to do is to use the template to draw a load of triangles on the material and then cut them out. Along the shorter base line I just used straight cutting material scissors and then for the longer edges which will be on show I used pinking shears to prevent fraying. It's much easier than hemming all the triangles and I think it looks quite pretty too.
To give you an idea of how many flags to cut out I tried to come up with some kind of maths sum thing, but maths is definitely not my strong point and it failed completely! I made about 3 metres of buntning, and found that including gaps, 18 flags 6 inches across filled it up.
Next I ironed the tape in half to create a flap for the flags to be sewn in between. Once it's ironed out to get the crease in it's much easier to pin flags into, however, if you're using bias binding it may already be folded over.
I left a couple of inches of tape free from flags for pinning or tieing up and starting pinning flags in place. I allowed an inch gap in between and after pinning on 3 flags I tacked them in place using a darker coloured thread. This can seem like a bit of a faff, but it allows the fabric to be flatter when it comes to sewing and you haven't got to worry about taking pins out as you sew.
Once you've got all your bunting flags in place it's time to sew it all up, using a sewing machine 3 metres really doesn't take too long. All that's left now is to pull out the tacking stitches, tidy up the ends of the tape using pinking shears again and then iron out any creases in the flags.

And there you have it, easy bunting. I'm already planning on making more and have it everywhere in my uni house.

Pin for later
Will you be having a go at DIY bunting?


No comments